
Sowing:
I started with seeds from Rolling Eyeballs. If I remember correctly, those did not germinate so well. I put my seeds in take-out trays with holes. The medium is composed of just ordinary soil with perlite, about 2 parts soil and 1 part perlite. I Just eyeball it basically but that sounds just about right. I mist the soil until it is moist but not so soaked that it's dripping. I lay the seeds on their sides about an inch apart and cover them very thinly with soil. They need to be in bright light but not direct sun.
The seeds and seed pods look like these. If you do get seed pods, let them ripen on the plant.
 |
| Seed pods take about one and a half months to break open. |
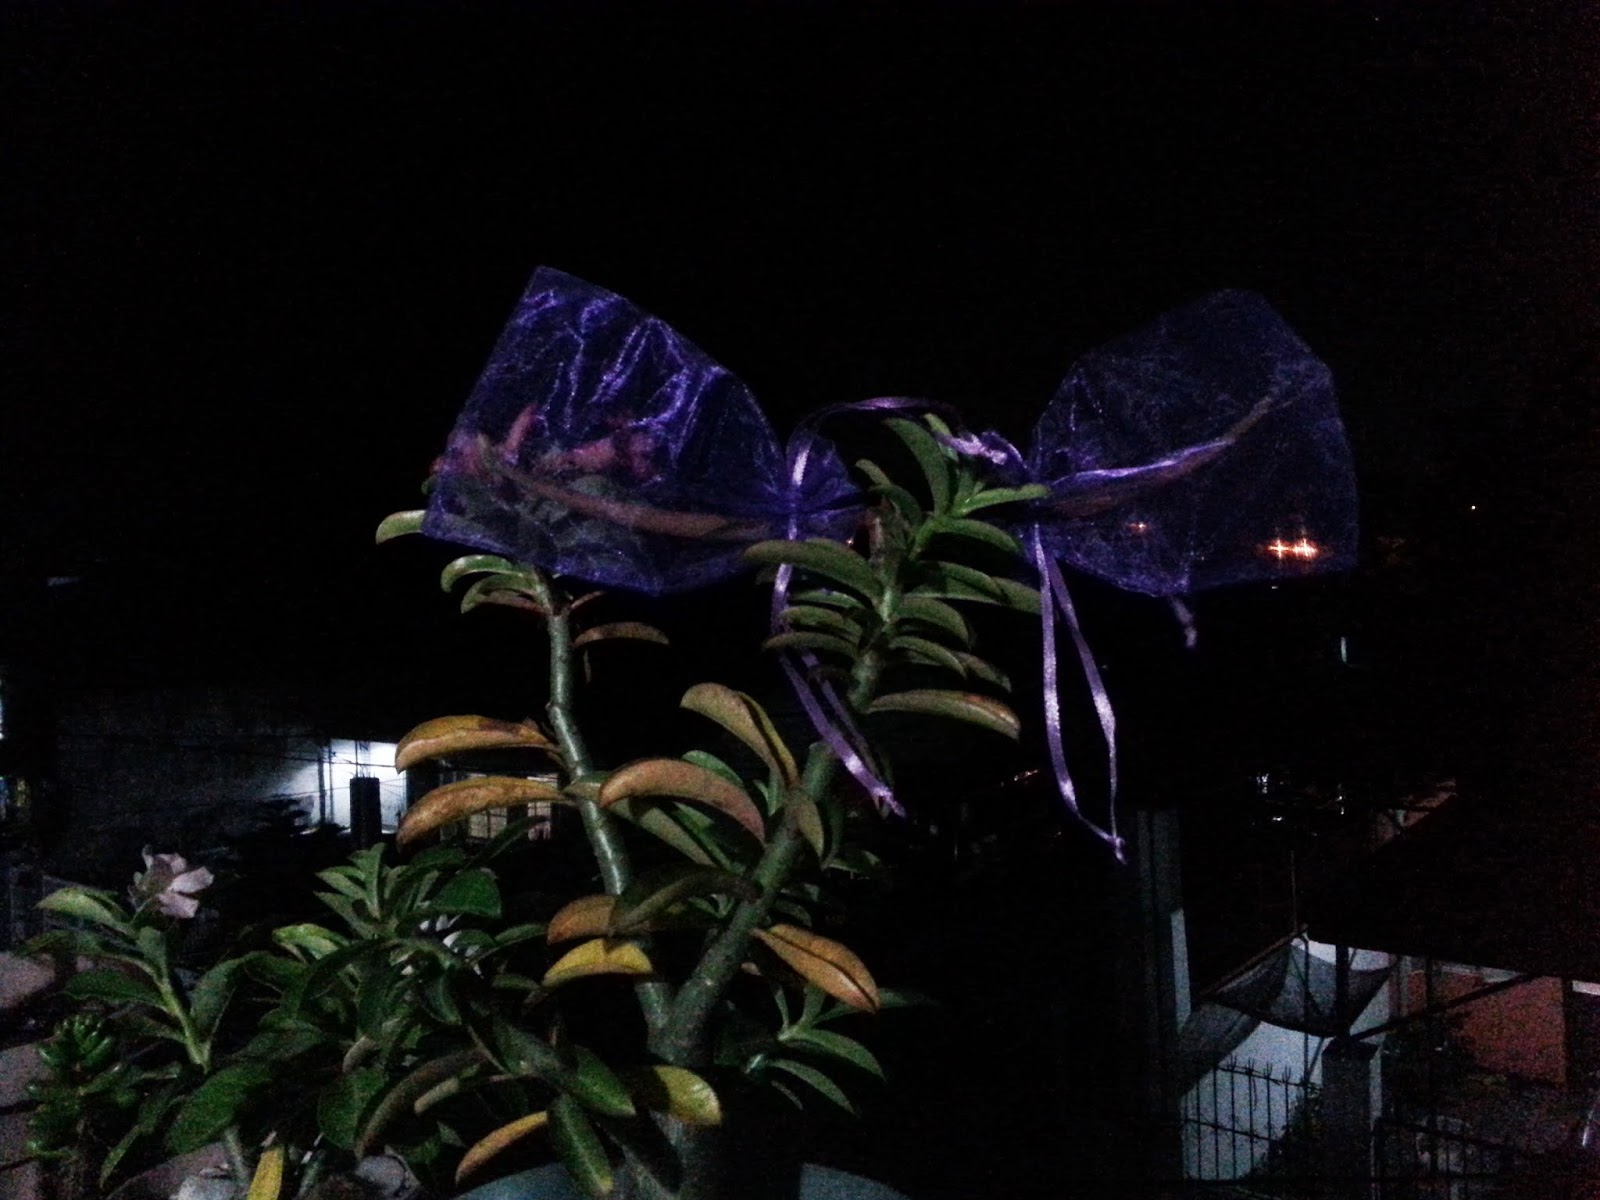
I used little cloth baggies to catch the seeds when the pods open, hence this ridiculous get up. You can also wrap the pods with a string or wire. Apologies for the image quality. That's just me doing gardening in the middle of the night:
Seeds have these furry things on either end. I know, that's very scientific. Suffice it to say it allows them to be carried away by the wind when the pods break open.

The fluff is very, very soft and lightweight. Like a cross between kitten fur and baby hair.

As soft as the fur thing is, you have to remove them from the seeds. Without them, the seeds look like, well, seeds:

The trays are covered and the seeds are misted every day but then again I'm in the tropics. If you're not, adjust it. Just don't let the tray dry out.
Germination:
Here the seeds sprout as early as 5 days after sowing. They look like this:
 |
| Source: plant-whisperer.blogspot.com (Couldn't find mine :( ) |
Sometimes the little seedlings need help getting rid of their "hats". Just be very gentle. If they won't come off with a gently tug, they're probably not ready. At this stage they still need to be misted everyday but with the cover off already. These were about 2 weeks old.

After about a month or so (what precision ei?), I transfer them to individual pots. Basically I wait for the stem to get darker in color before I repot. The last time, I used plastic party cups. However, if you'll use them, be prepared to repot again in 2 months as they disintegrate when the seedlings are already getting full sun.
 |
| Seedlings in plastic party cups. |
 |
| Close up |
By the time the party cups start falling apart, the seedlings are probably too big for them already and it's time to move them again. You can skip the party cups stage and go straight to the nursery pots but these were all I had when I had the time and inclination to repot.
 |
| In 5-inch nursery pots |
I think they stayed in their nursery pots for about a year. Then I had to move them again as the little guys were literally trying to bust out!

The medium stayed pretty much the same all throughout. I try to fertilize weakly weekly. "Try" being the operative word here, I use general balanced fertilizer. As they get bigger, watering can be done less often. Having said that, don't fertilize dry roots to avoid root burn.
No comments:
Post a Comment